Waiting For The Sun!
Something I hear a reasonable amount is “I haven’t barbecued much this year as it hasn’t really been sunny”. As someone that not only enjoys


Curing a BBQ refers to the process of preparing a new grill or reconditioning an old one before its first use or after a long period of disuse. This process helps to remove any residual oils, dirt, or rust from the surface of the grill grates and other components. It also creates a protective layer on the grill’s surface to prevent corrosion and helps to create a non-stick surface on the grates, making it easier to cook on them. The process typically involves cleaning the grill, applying a protective coating, and seasoning the grates.
By curing your BBQ, you can help ensure that it functions properly and lasts for a long time.
Need To Know
If you’re someone who loves to barbecue, you know how important it is to keep your BBQ in good condition. A clean and well-maintained BBQ not only ensures that your food tastes great but also prolongs the life of your grill. In this blog post, we’ll provide you with some tips on how to cure a BBQ and keep it in tip-top shape.
Step 1: Clean Your BBQ
Before you cure your BBQ, it’s essential to give it a thorough cleaning. Start by removing any debris, ash, and grease from the grill grates and burners. Use a grill brush or scraper to get rid of any stubborn grime. You can also use a mild soap and water solution to clean the grates and the exterior of the grill. Be sure to rinse everything well and allow it to dry completely before proceeding to the next step.
Step 2: Apply a Protective Coating
Once your BBQ is clean and dry, it’s time to apply a protective coating to prevent rust and other forms of corrosion. You can use a cooking oil such as vegetable oil, canola oil, or even flaxseed oil to create a protective barrier on the grill grates. Apply a thin layer of oil using a paper towel or a brush, and make sure to cover all surfaces of the grates evenly.
For the exterior of your grill, you can use a high-heat spray paint that’s designed for use on metal surfaces. This will not only protect the grill from rust but also give it a fresh new look. Make sure to follow the manufacturer’s instructions when applying the paint and allow it to dry completely before using the grill.
Step 3: Season Your BBQ
Seasoning your BBQ is an important step in the curing process. This helps to create a non-stick surface on the grill grates and prevents food from sticking to them. To season your BBQ, heat the grill to a high temperature and then apply a layer of cooking oil to the grates using a brush or paper towel. Let the oil heat up and cook for 20-30 minutes, then turn off the grill and let it cool down completely.
Step 4: Store Your BBQ Properly
Proper storage is crucial to keep your BBQ in good condition. When you’re not using your grill, cover it with a high-quality grill cover to protect it from the elements. Make sure to store your BBQ in a dry and cool place, away from moisture and humidity.
You’re all set!
Curing your BBQ is an essential step to keep it in excellent condition. By following these simple steps, you can ensure that your grill stays rust-free and performs at its best for years to come.
Happy grilling!

Something I hear a reasonable amount is “I haven’t barbecued much this year as it hasn’t really been sunny”. As someone that not only enjoys

As you can imagine I get asked this question a few times in a week and in fairness for the person just getting into their coffee it is a fair question.

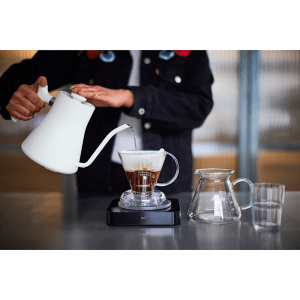
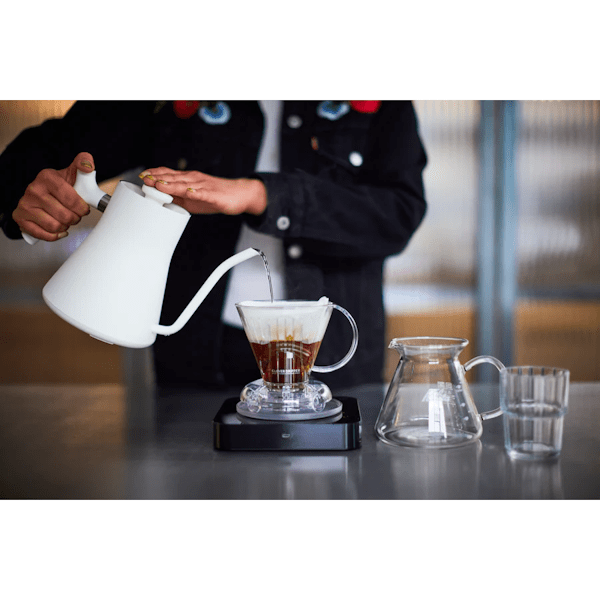
So with the introduction of The Coffee Shack to The Barbecue Shack business I thought I would run a quick demo on making an Americano on our Gaggia Classic demo machine.

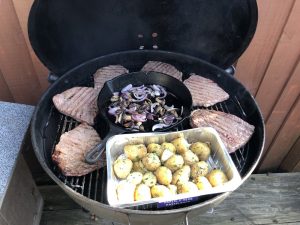
“What?” I hear you cry. “Why?” I also hear people crying. Why not I say. My Father-in-Law insists on buying meat from dubious sources and bringing it home for me to deal with, almost like a challenge!

Something I hear a reasonable amount is “I haven’t barbecued much this year as it hasn’t really been sunny”. As

As you can imagine I get asked this question a few times in a week and in fairness for the person just getting into their coffee it is a fair question.

So with the introduction of The Coffee Shack to The Barbecue Shack business I thought I would run a quick demo on making an Americano on our Gaggia Classic demo machine.